> ## Documentation Index
> Fetch the complete documentation index at: https://docs.useponder.ai/llms.txt
> Use this file to discover all available pages before exploring further.
# Quickstart
> Ponder lets developers add ultra realistic Voice AI agents to their web applications with minimal effort
These agents talk like humans, and can take actions such as controlling UI or calling APIs and backends
This section explains integrating with a React based website. You can either use the plug and play widget that renders in the bottom right corner or build your own UI using the `usePonder` hooks
## Adding a minimal voice agent
Follow these steps to add a minimal agent to your application. In this guide we will use the plug and play Ponder widget that will appear in the bottom right corner of the screen
Login and create an assistant on the Ponder dashboard
Choose the language model and voice for the assistant and provide the instructions for the assistant in the system prompt.
Alternatively, you can automatically generate a test system prompt by entering your website
Install the ponder react SDK
```bash
npm install @ponderai/react
```
Add the PonderProvider to your \_app.js and add the assistantId that you created on the dashboard
```javascript
import { PonderProvider } from "@ponderai/react";
function App() {
return (
);
}
```
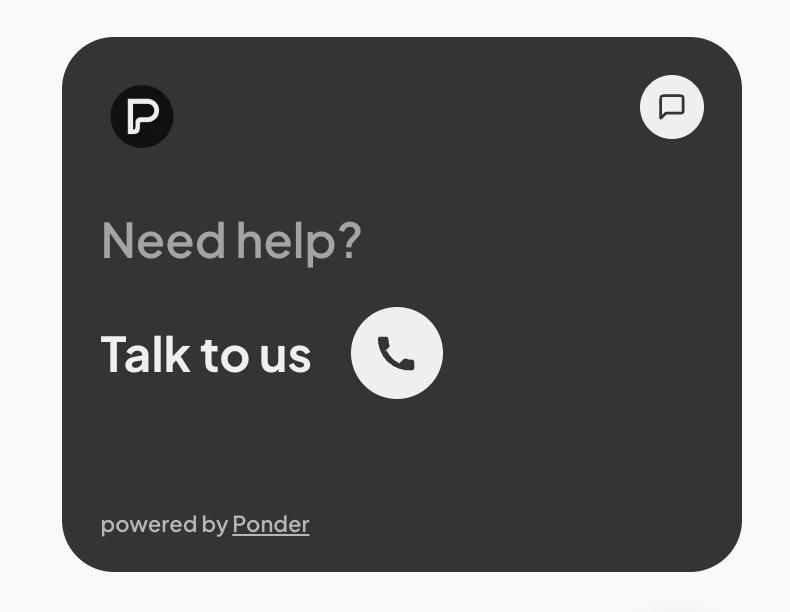
Hurray! 🎉 The Ponder widget will now be available in the bottom right corner of the screen that you can talk to!
 Use the usePonder hook anywhere in your application to dynamically set actions and instructions for the assistant.
For example:
```javascript
import { usePonder } from "@ponderai/react";
function MyPage() {
const ponder = usePonder();
const collectEmail = (email) => {
//.. email collection logic
//.. can include a call to your backend
}
const goToPricingPage = () => {
window.location.href = "/pricing";
}
ponder.setActions([
{
name: "goToPricingPage",
description: "Call this function if the user asks about pricing",
arguments: [],
},
{
name: "collectEmail",
description: "Call this function if the user is a developer and collect their email",
arguments: [
{
name: "email",
description: "The email of the user",
type: "string",
required: true
}
],
},
]);
ponder.setInstructions("This is the home page of Ponder. Help the user understand the product better. Ask them if they are a developer.");
ponder.onFunctionCall((name, args) => {
switch (name) {
case "collectEmail":
collectEmail(args.email)
break;
case "goToPricingPage"
goToPricingPage()
break;
default:
console.warn(`No handler for function: ${name}`);
}
})
// ...rest of your component
}
```
This is a minimal example, you can pass any javascript function as an action!
Make sure to name the function intuitively and provide good descriptions - don't hesitate to provide long instructions if need be.
Checkout the API Reference page for indepth information and all available options